Revit is a powerful tool for building design, but it can sometimes be difficult to get walls to join properly or not connect at all. This can be frustrating, especially when trying to create a complex model. However, there is a simple workaround that can help you disallow wall joins in Revit, making it easier to move around independent walls.
Steps to Disallow Revit Wall Join:
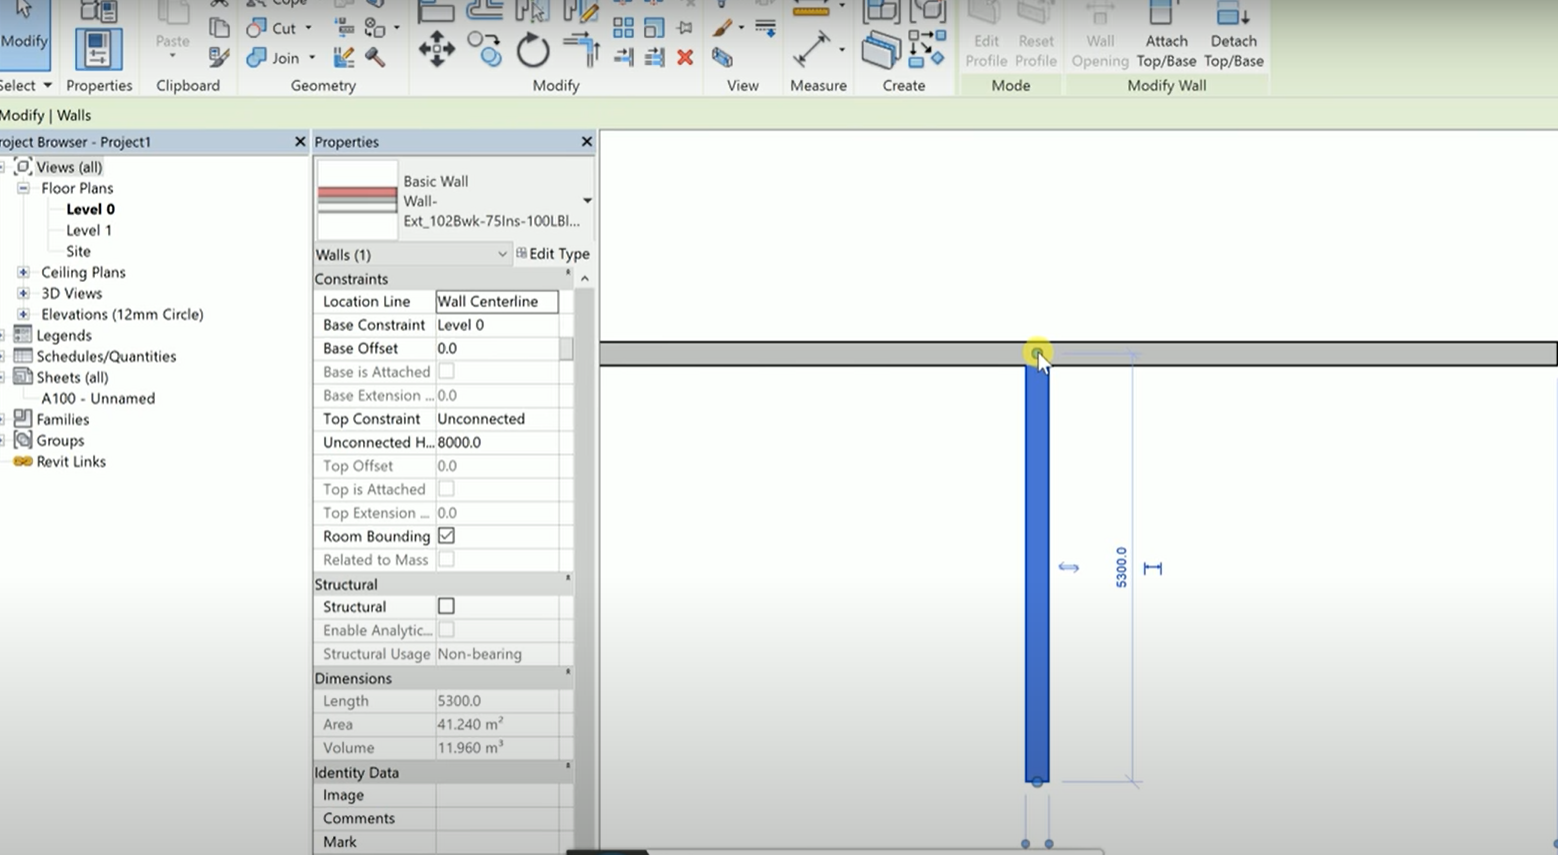
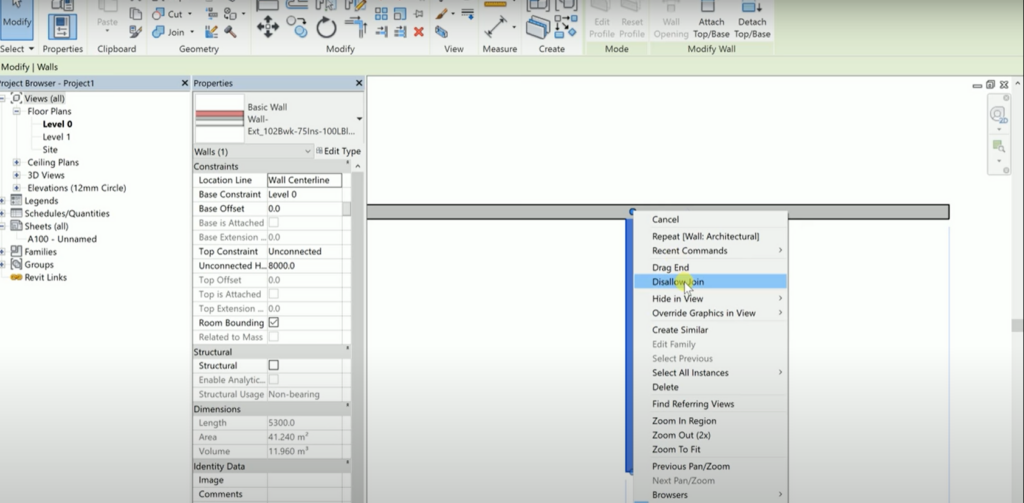
- Select the intersecting walls.

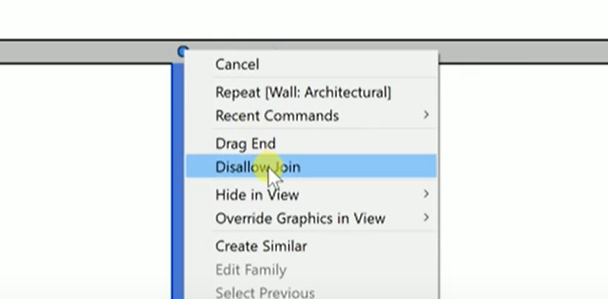
- Right-click to see the drop-down.

- Choose “disallow join.”

This will overwrite the wall join command or wall join condition in the wall, allowing you to independently control the join condition of the wall. This works with different kinds of walls.
Benefits of Disallowing Revit Wall Join
- More control over the way your walls join
- More accurate and professional-looking models
- Easier to create complex models
If you’re having trouble getting walls to join properly in Revit, try this simple workaround. It can help you disallow wall joins and give you more control over the way your models look.
Do you have questions on this topic or would love to share some useful tips on the subject? Leave a comment below! We’d love to hear from you!
Watch the video below to learn how to disallow Revit Wall join.


